|
PWCT 1.9 Art Documentation ( https://doublesvsoop.sourceforge.net ) Free and Open-Source Software ( GNU General Public License ) _____________________________________________________________________________________ Table of contents 1 - Introduction 2 - Implementation steps 3 - Final Steps Tree 4 - Application during the runtime 1 - Introduction In this lesson we are going to create a library contains one function The library file is a source file (*.SSF) but marked as (Server Extension) To mark a source file as a server extension
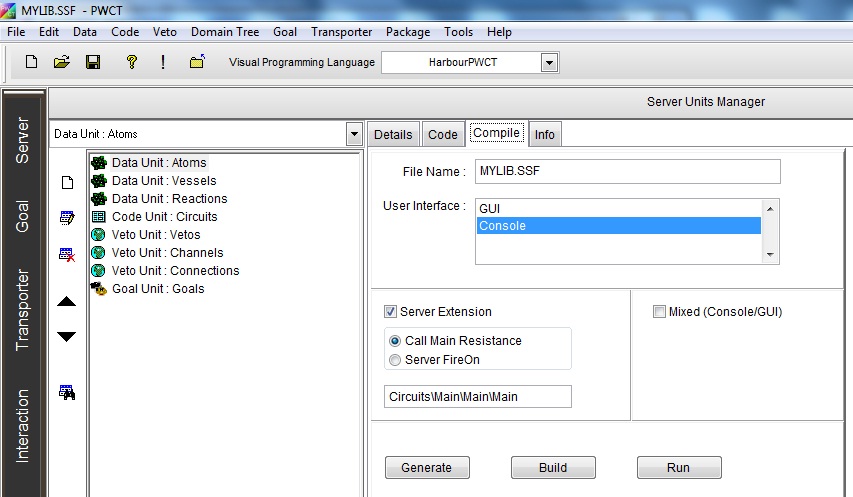
1 - open server units window 2 - select the (Compile) tab 3 - set checkbox (Server Extension) On
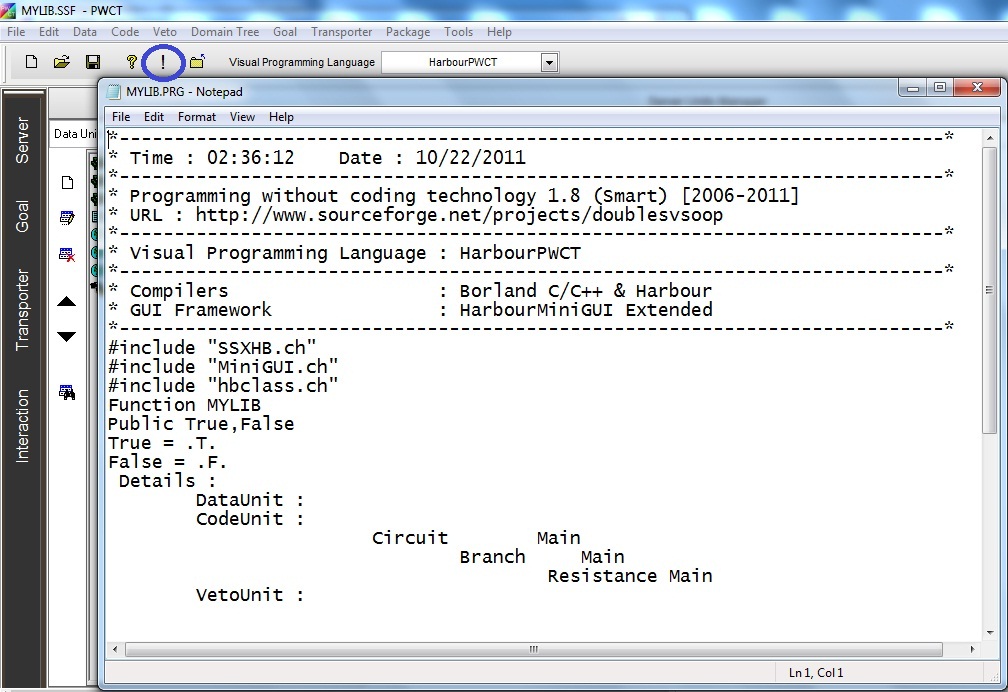
When you run the library file, instead of getting the executable application, you will get only the generated source code file (*.PRG)
For example MyLib.SSF (Server Extension=Library) -----(RUN=CTRL+R)---> MyLib.PRG
The Library/Server extension file contains functions shared by one or more of source files (*.SSF) You can call this source code file (MyLib.PRG) from other source files (*.SSF)
To call source code file generated from Library/Server extension file you will need to use the component (Set Procedure to) which will get as parameter (the source code file name) .
In our example
[Part (1)]
we will create a library/Server extension file called (MyLib.SSF) Where the file (MyLib.SSF) comes with goal (Main) which contains the function (MyFunc) When we run MyLib.SSF we will get MyLib.PRG
[Part (2)]
We will create a console application called (LibCall.SSF) which will load (MyLib.PRG) using the component (Set Procedure To) then the function (MyFunc) will be invoked using the component (Call Function). 2 - Implementation Steps Fig. (1) Goal Desginer - Steps Tree Select the step (The First Step) We will start now new interaction process to generate new steps to our steps tree. The slow way (Using Mouse): 1 - Click Interact to open the components browser 2 - Select the domain (Structure Programming) 3 - Select the component (Define Procedure) The fast way (Using Keyboard shortcuts): 1 - Get the component using its name by typing (Define Procedure) Note : Stop typing when you see the required component is selected Fig. (2) Component Browser – Select the component (Define Procedure) After selecting the component click Ok or press ENTER Fig. (3) Interaction page - Set the properties and enter the required data as in the image above Fig. (4) Goal Desginer - Steps Tree Select the step (Start Here) We will start now new interaction process to generate new steps to our steps tree. The slow way (Using Mouse): 1 - Click Interact to open the components browser 2 - Select the domain (Print Text) 3 - Select the component (Print Text To Console) The fast way (Using Keyboard shortcuts): 1 - Get the component using its name by typing (Print Text To Console) Note : Stop typing when you see the required component is selected Fig. (5) Component Browser – Select the component (Print Text To Console) After selecting the component click Ok or press ENTER Fig. (6) Interaction page - Set the properties and enter the required data as in the image above Fig. (7) Goal Desginer - Steps Tree Select the step (Start Here) We will start now new interaction process to generate new steps to our steps tree. The slow way (Using Mouse): 1 - Click Interact to open the components browser 2 - Select the domain (Print Text) 3 - Select the component (Print Text To Console) The fast way (Using Keyboard shortcuts): 1 - Get the component using its name by typing (Print Text To Console) Note : Stop typing when you see the required component is selected Fig. (8) Component Browser – Select the component (Print Text To Console) After selecting the component click Ok or press ENTER Fig. (9) Interaction page - Set the properties and enter the required data as in the image above Fig. (10) Goal Desginer - Steps Tree Select the step (Start Here) We will start now new interaction process to generate new steps to our steps tree. The slow way (Using Mouse): 1 - Click Interact to open the components browser 2 - Select the domain (Console Application) 3 - Select the component (Wait (Key/Seconds)) The fast way (Using Keyboard shortcuts): 1 - Get the component using its name by typing (Wait (Key/Seconds)) Note : Stop typing when you see the required component is selected Fig. (11) Component Browser – Select the component (Wait (Key/Seconds)) After selecting the component click Ok or press ENTER Fig. (12) Interaction page - Set the properties and enter the required data as in the image above Fig. (13) Goal Desginer - Final Steps Tree 3 - Final Steps Tree ----------------------------- File MyLib.SSF ----------------------------- The First Step Define Procedure myfunc Code Block Print text ("The First Line ") to console Print text ("The Second Line ") to console Wait (KEY) Message : "Press any key to continue" End of Procedure 4 - Application during the runtime
Fig. (14) Application during the runtime
Fig. (15) Application during the runtime
|

